...on your own
Only complete this section if you are running the workshop on your own. If you are at an AWS hosted event (such as re:Invent, Kubecon, Immersion Day, o any even hosted by an AWS employee etc), go to Start the workshop at an AWS event.
Running the workshop on your own
Creating an Admin User account
Your account must have the ability to create new IAM roles and scope other IAM permissions.
-
If you don’t already have an AWS account with Administrator access: create one now by clicking here
-
Once you have an AWS account, ensure you are following the remaining workshop steps as an IAM user with administrator access to the AWS account: Create a new IAM user to use for the workshop
-
Enter the user details:
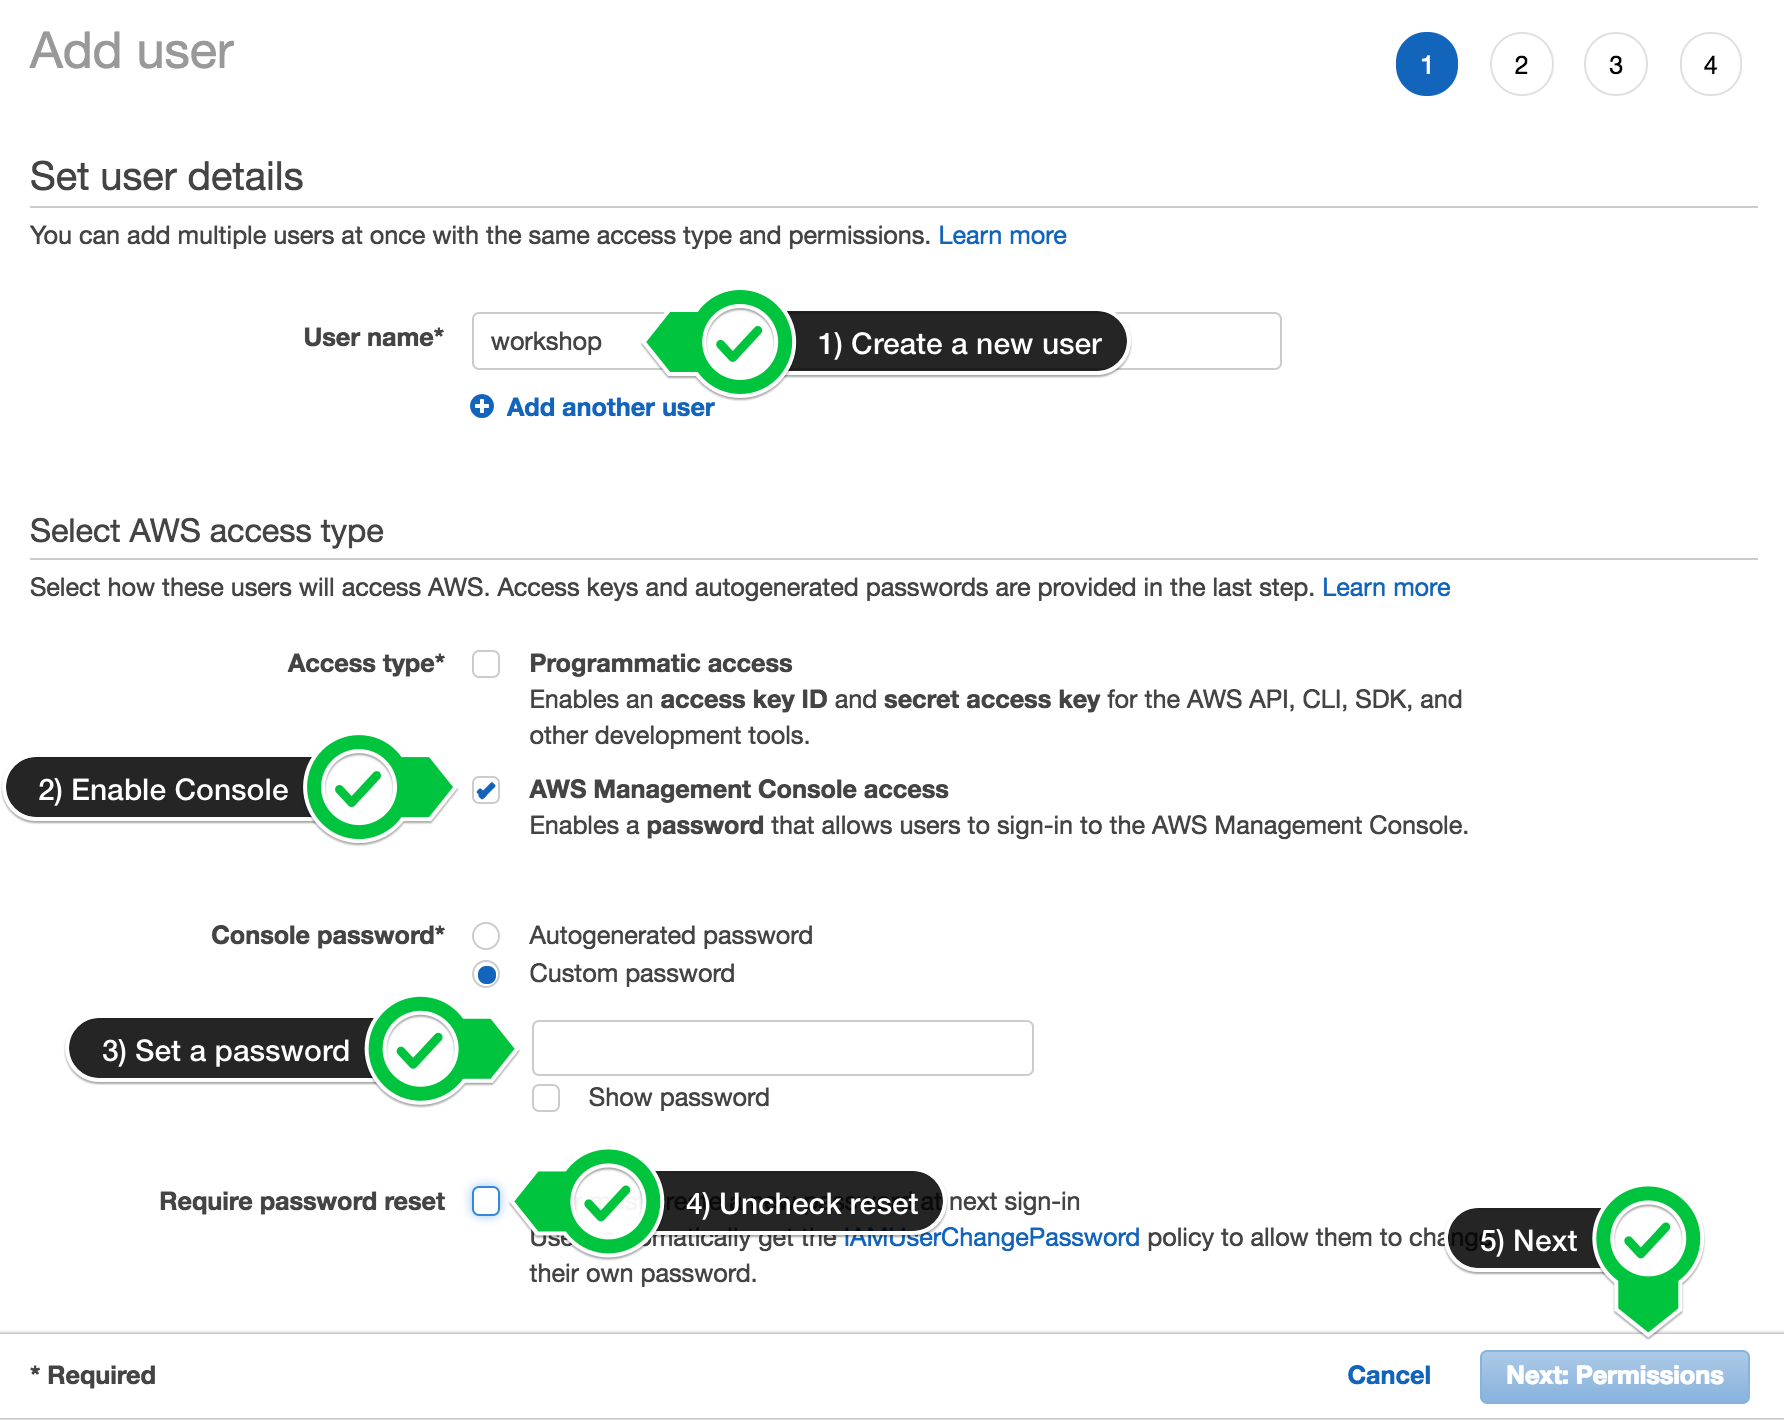
-
Attach the AdministratorAccess IAM Policy:
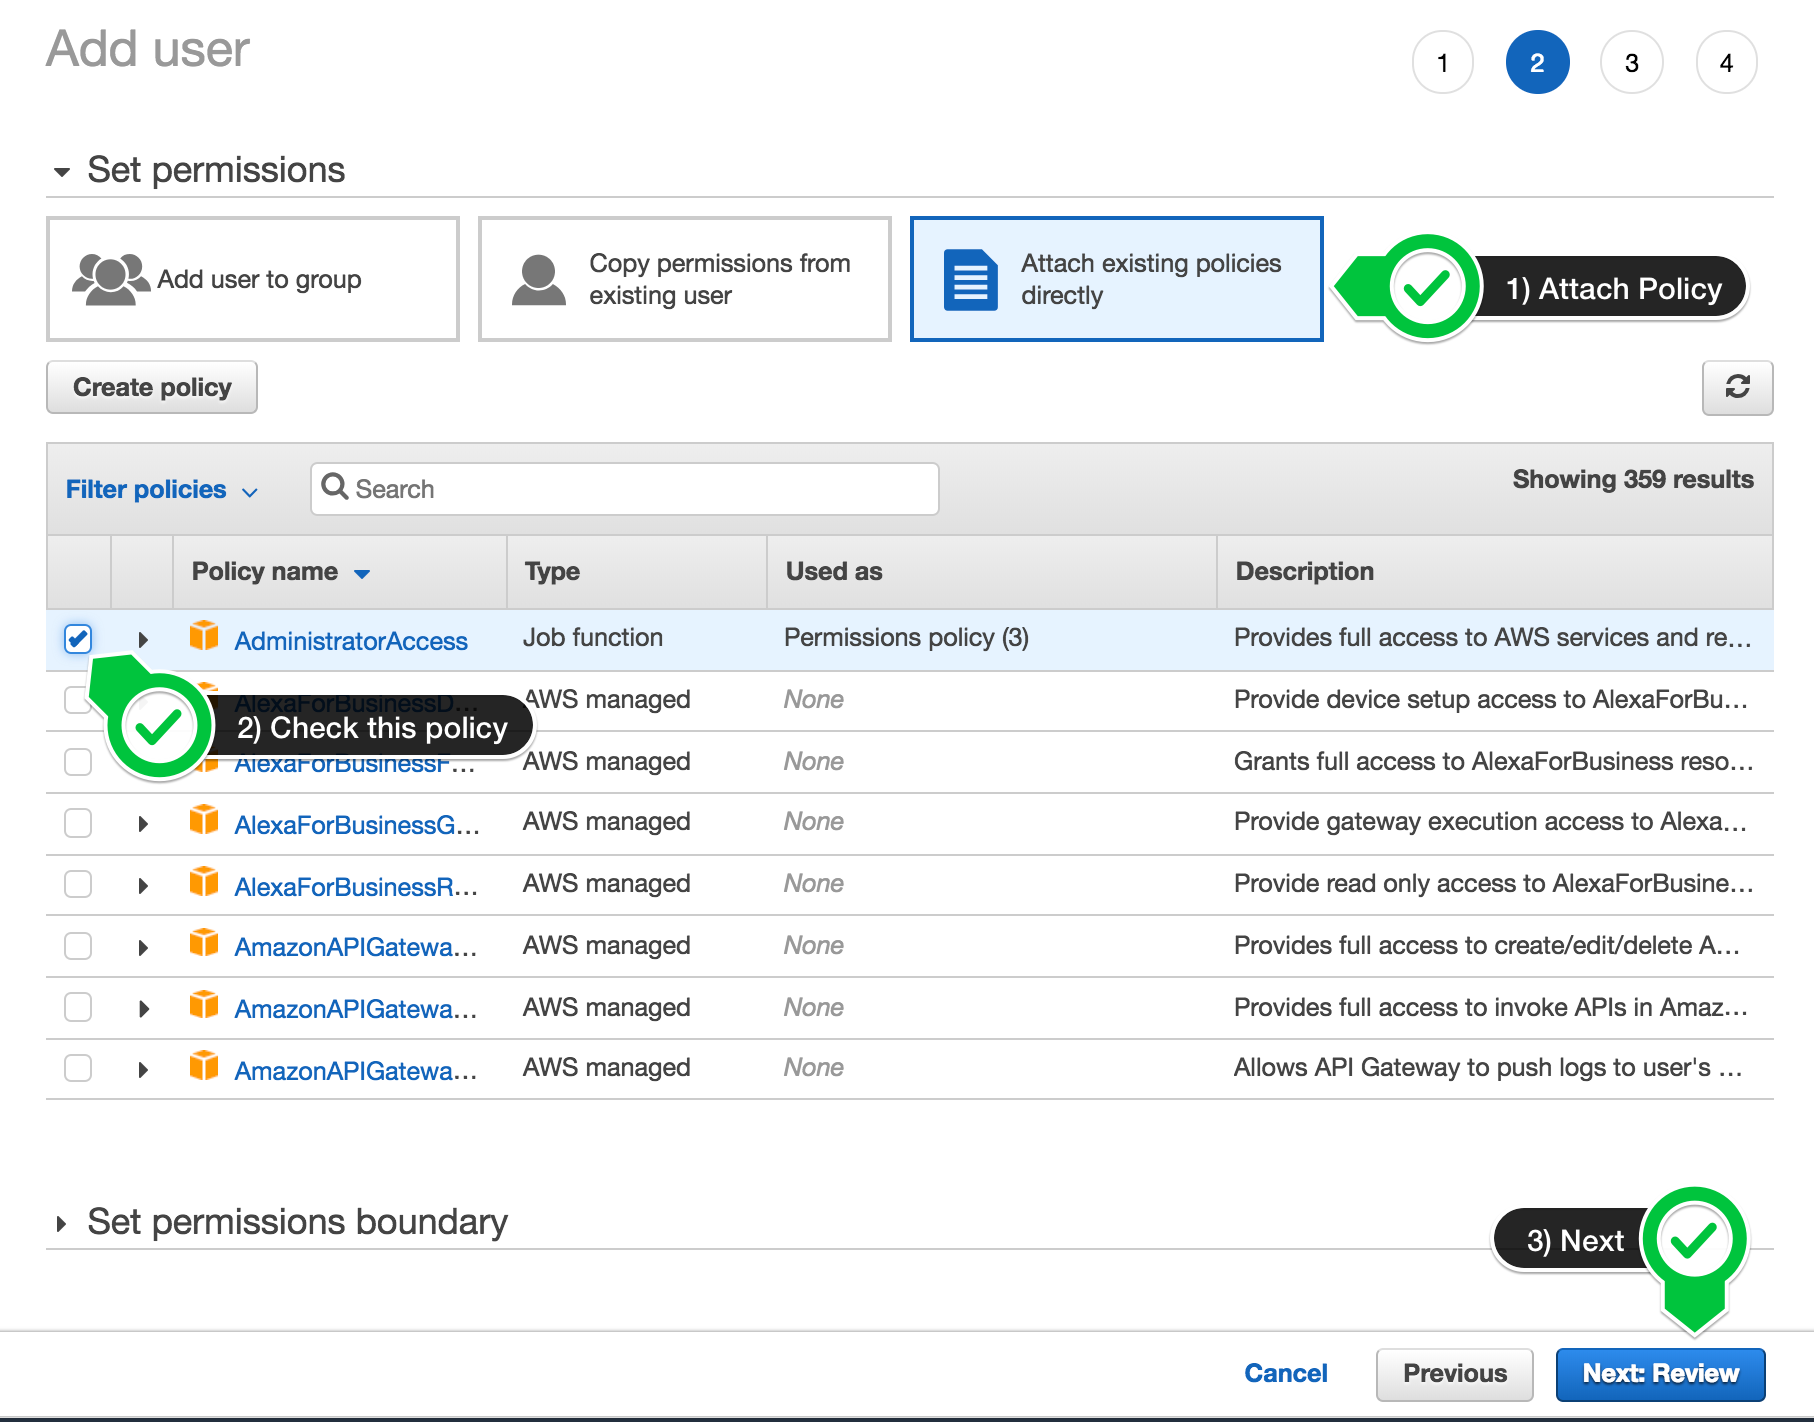
-
Click to create the new user:
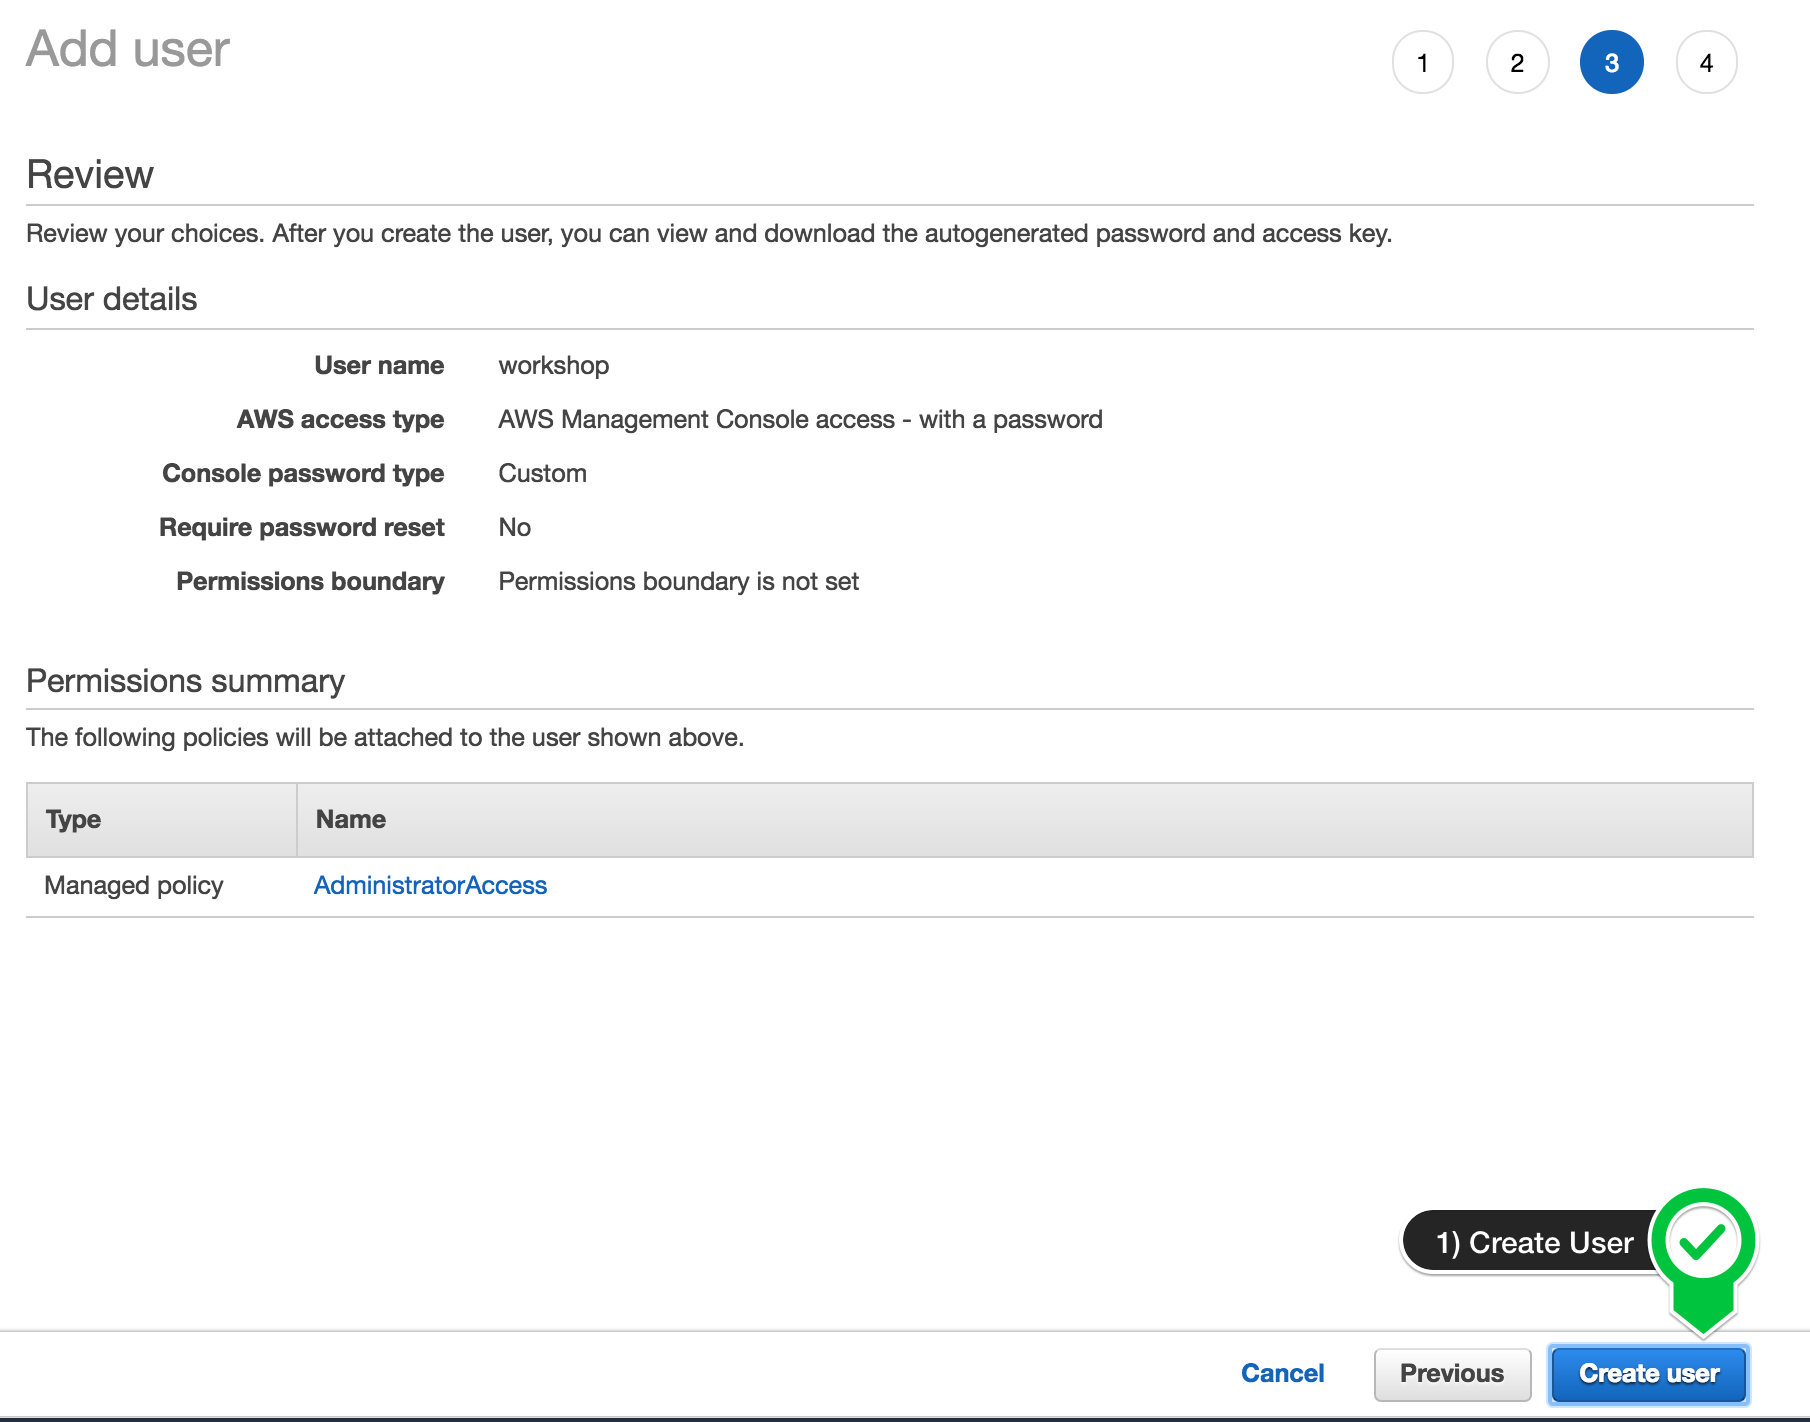
-
Take note of the login URL and save:
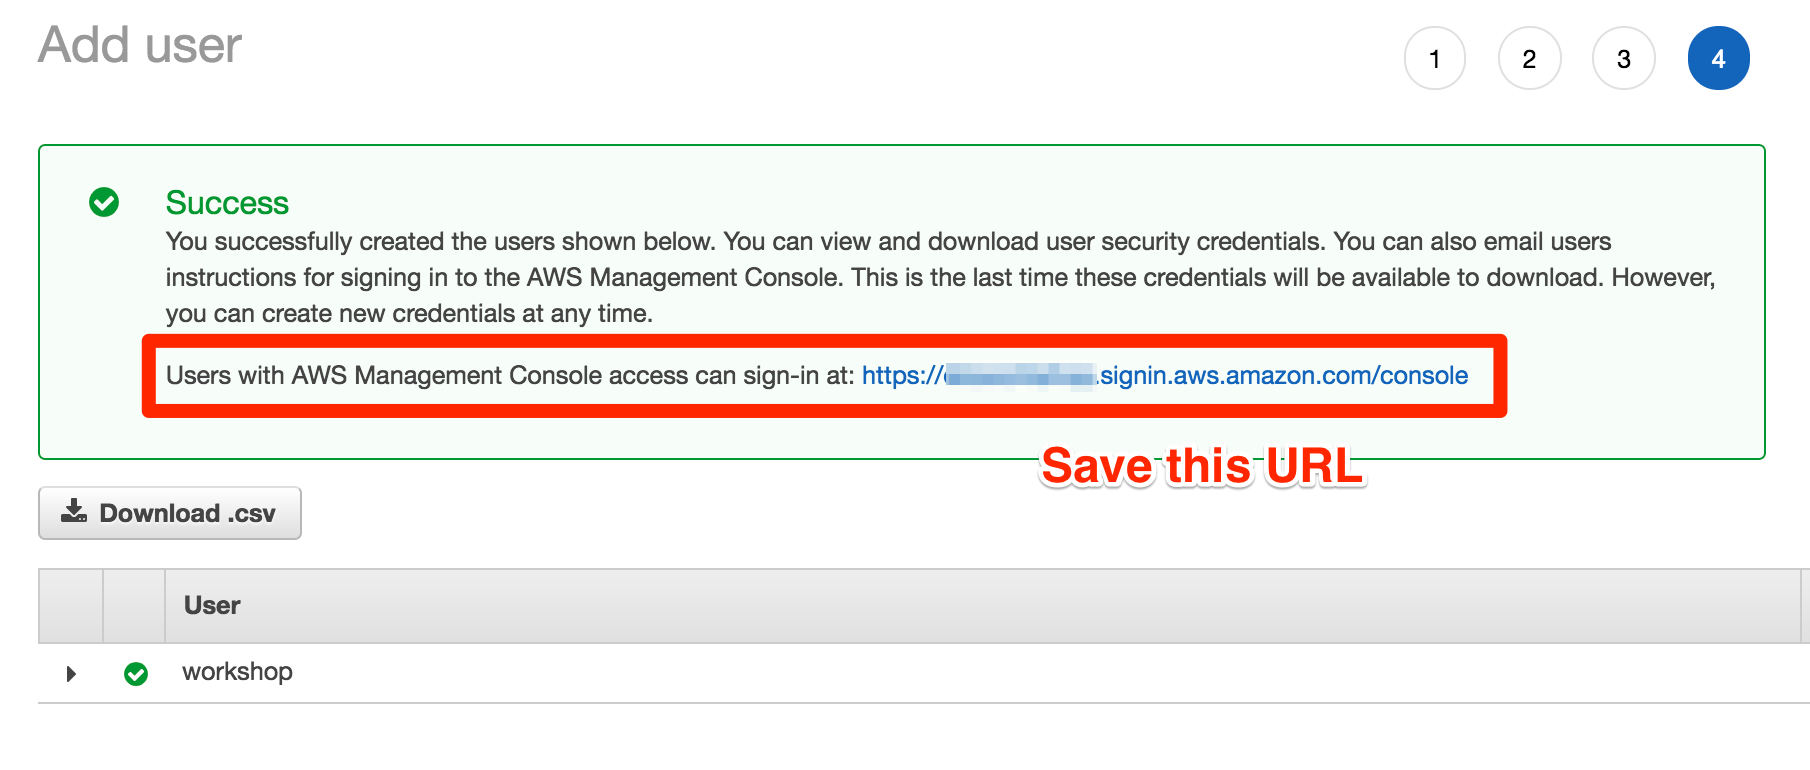
Once you have completed the step above, you can head straight to Configure your Workspace
Deploying Cloud9 Workspace
For first time users, windows users or those running within a workshop, we do recommend the use of Cloud9 as the platform to deploy HTC-Grid. HTC-Grid installation process uses Terraform and also make to build up artifacts and environment.
HTC-Grid project provides a CloudFormation Cloud9 Stack that installs all the pre-requisites needed to deploy and develop HTC-Grid.
Just follow the process below in your account to deploy the Cloud9 Cloudformation Stack.
-
Download the latest HTC-Grid Cloud9 Cloudformation Stack. The stack is available on this link.
-
On the AWS Console, select CloudFormation and Create a Stack. Select the (with new resources, Standard)
-
Select the Template is ready and then the “Upload template file”. Click on the Choose File button and select the
cloud9-htc-grid.yamlthat you downloaded in the previous step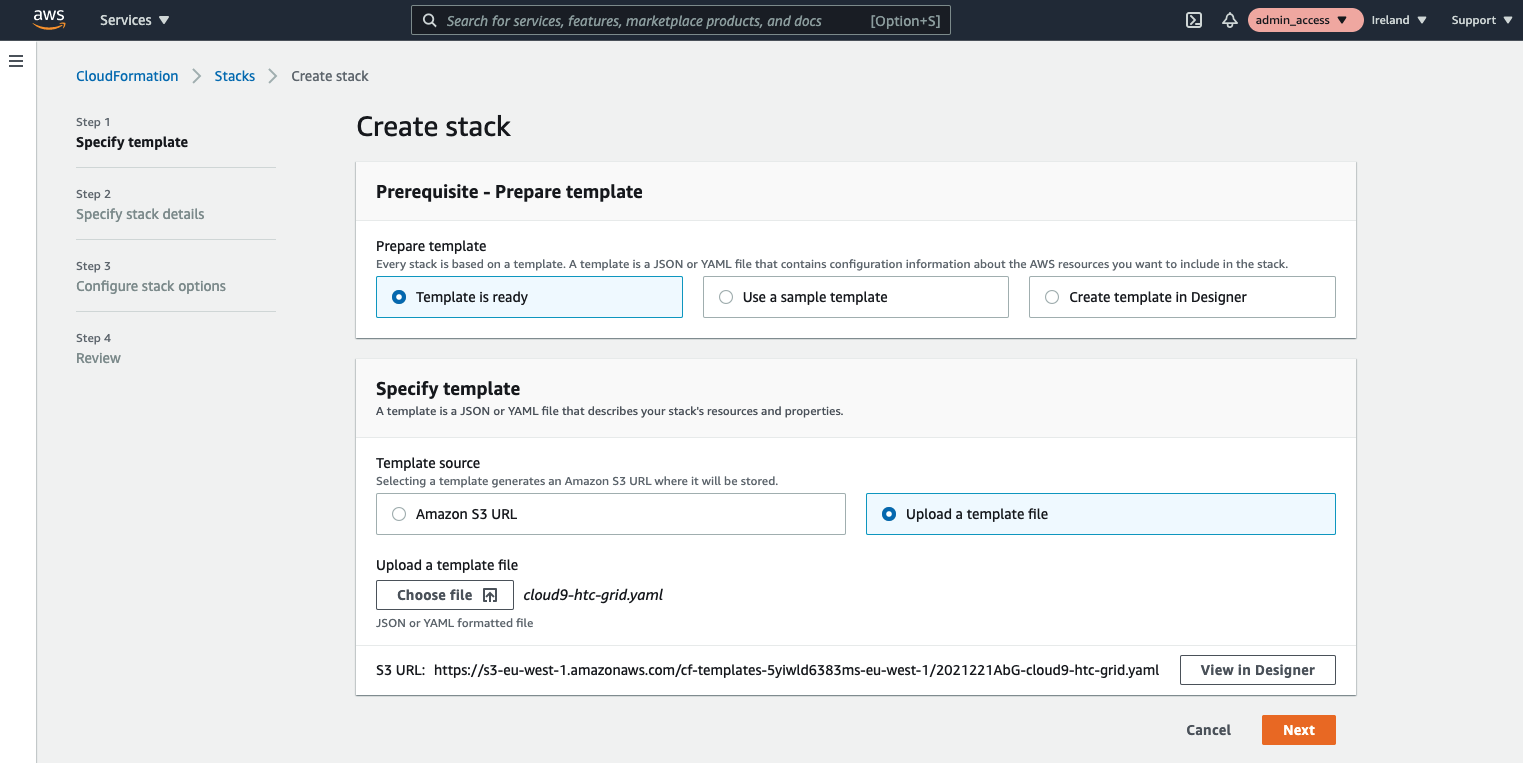
-
Set the name of the stack to htc-grid-workshop . With a memorable name, later on it will be easier to identify and clean up the resources. Click on Next.
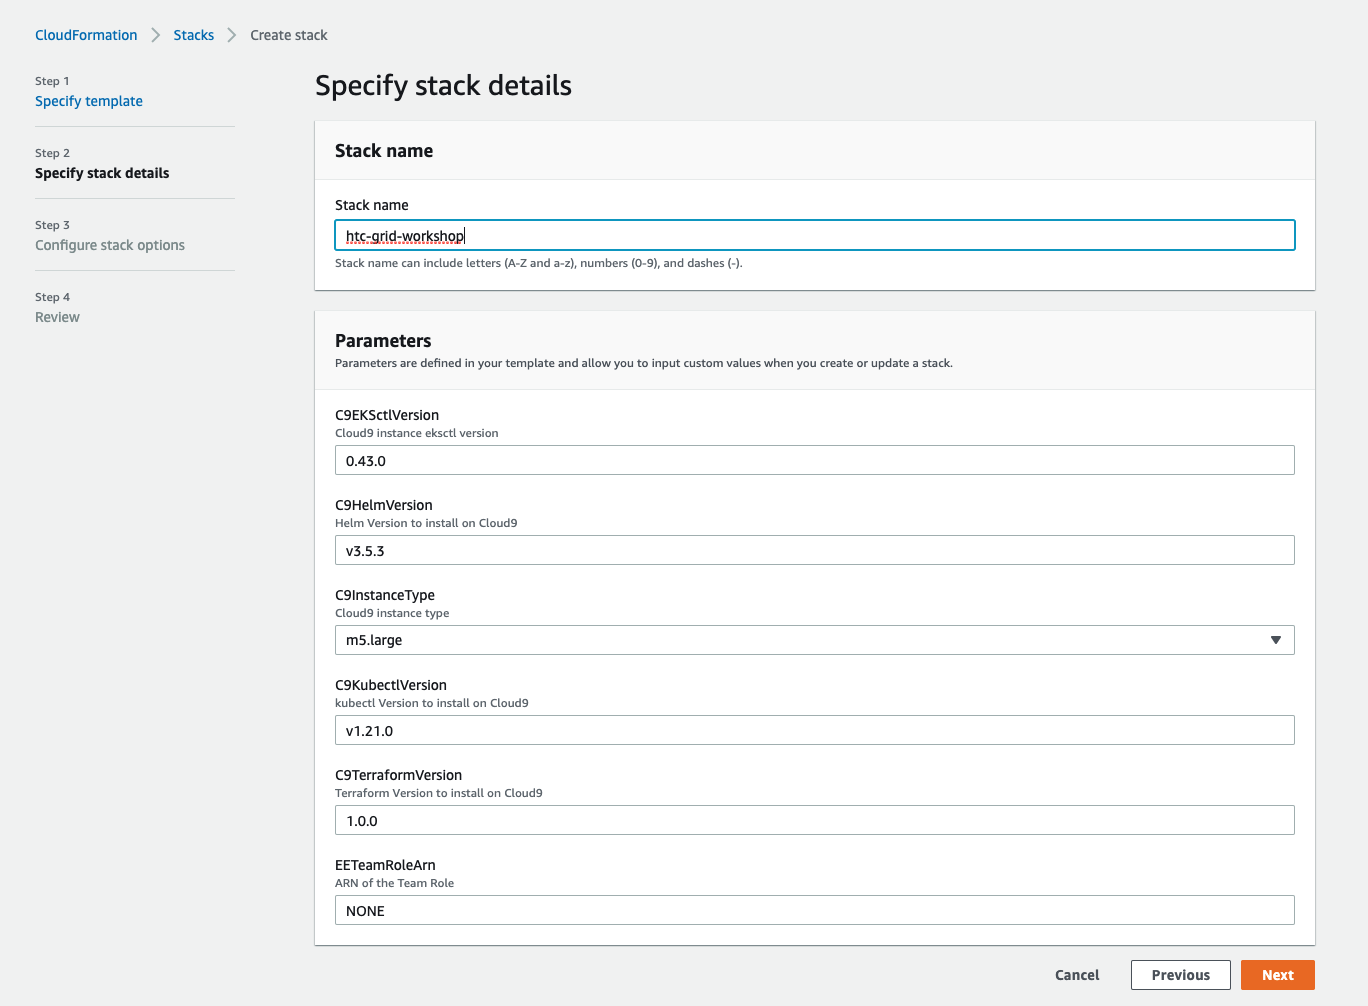
-
Scroll down on the next screen and click Next again, this will get you to the Review htc-grid-workshop page
-
Scroll down to the bottom of the Review htc-grid-workshop page, tick on the Capabilities check-box and click then on Create Stack
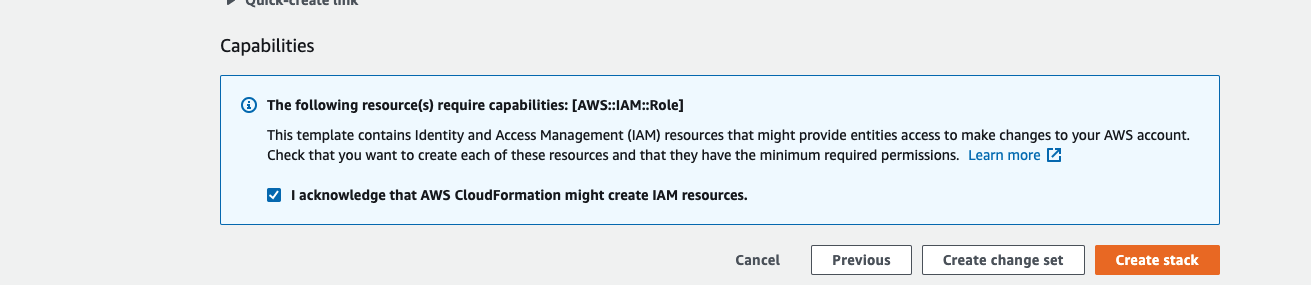
-
Finally wait for the CloudFormation Stack to complete. This may take a few minutes (From 10 to 15 minutes) You can use the time to Read the CloudFormation stack and understand which resources have been deployed.
Once the CloudFormation Stack creation is complete, go to the Configure your Workspace section